


Guest recipe and blog by Michelle Bondole @michellebondole
Fall is right around the corner and with that comes baking! Some of my favorite childhood memories are baking in the kitchen with my mom, particularly the times we played around with crafting the perfect, homemade bread.
These days, I love grabbing my two girls and making a version of my mom’s original– It immediately brings me nostalgic comfort (not to mention some delicious bread!)
My kids and I love cooking together, and I love teaching my girls how to cook and make healthy recipes. It’s important to show them how to feed our bodies well and to know what is in our foods.
This particular recipe is a delicious, homemade, vegan bread without yeast! It is an easy and quick loaf to make that promotes digestive health and wellness. I wanted to make sure that when we eat bread, it not only tastes good but that it’s also nutritious.
For the flour, I’m including two options:
» Spelt Flour is an alkaline flour your body can easily digest. It’s quickly become a go-to flour used by bakers, pastry chefs, and home cooks to make delicious baked goods, without containing too much gluten. However, while it contains less gluten than most flours, those who are sensitive to gluten should choose the alternative below.
» Brown Rice Flour is a gluten-free substitute for spelt flour and is safe for those who are gluten intolerant. It is fairly grainy and works best when used for dense recipes (like breads, though I have not personally made this recipe using Brown Rice Flour.) Two other notes: Brown rice flour contains bran which means it will need to be refrigerated after opening. And, if going for the Brown Rice flour option, also be sure to include 1 1/2 teaspoons of xanthan gum to help the bread hold its shape..
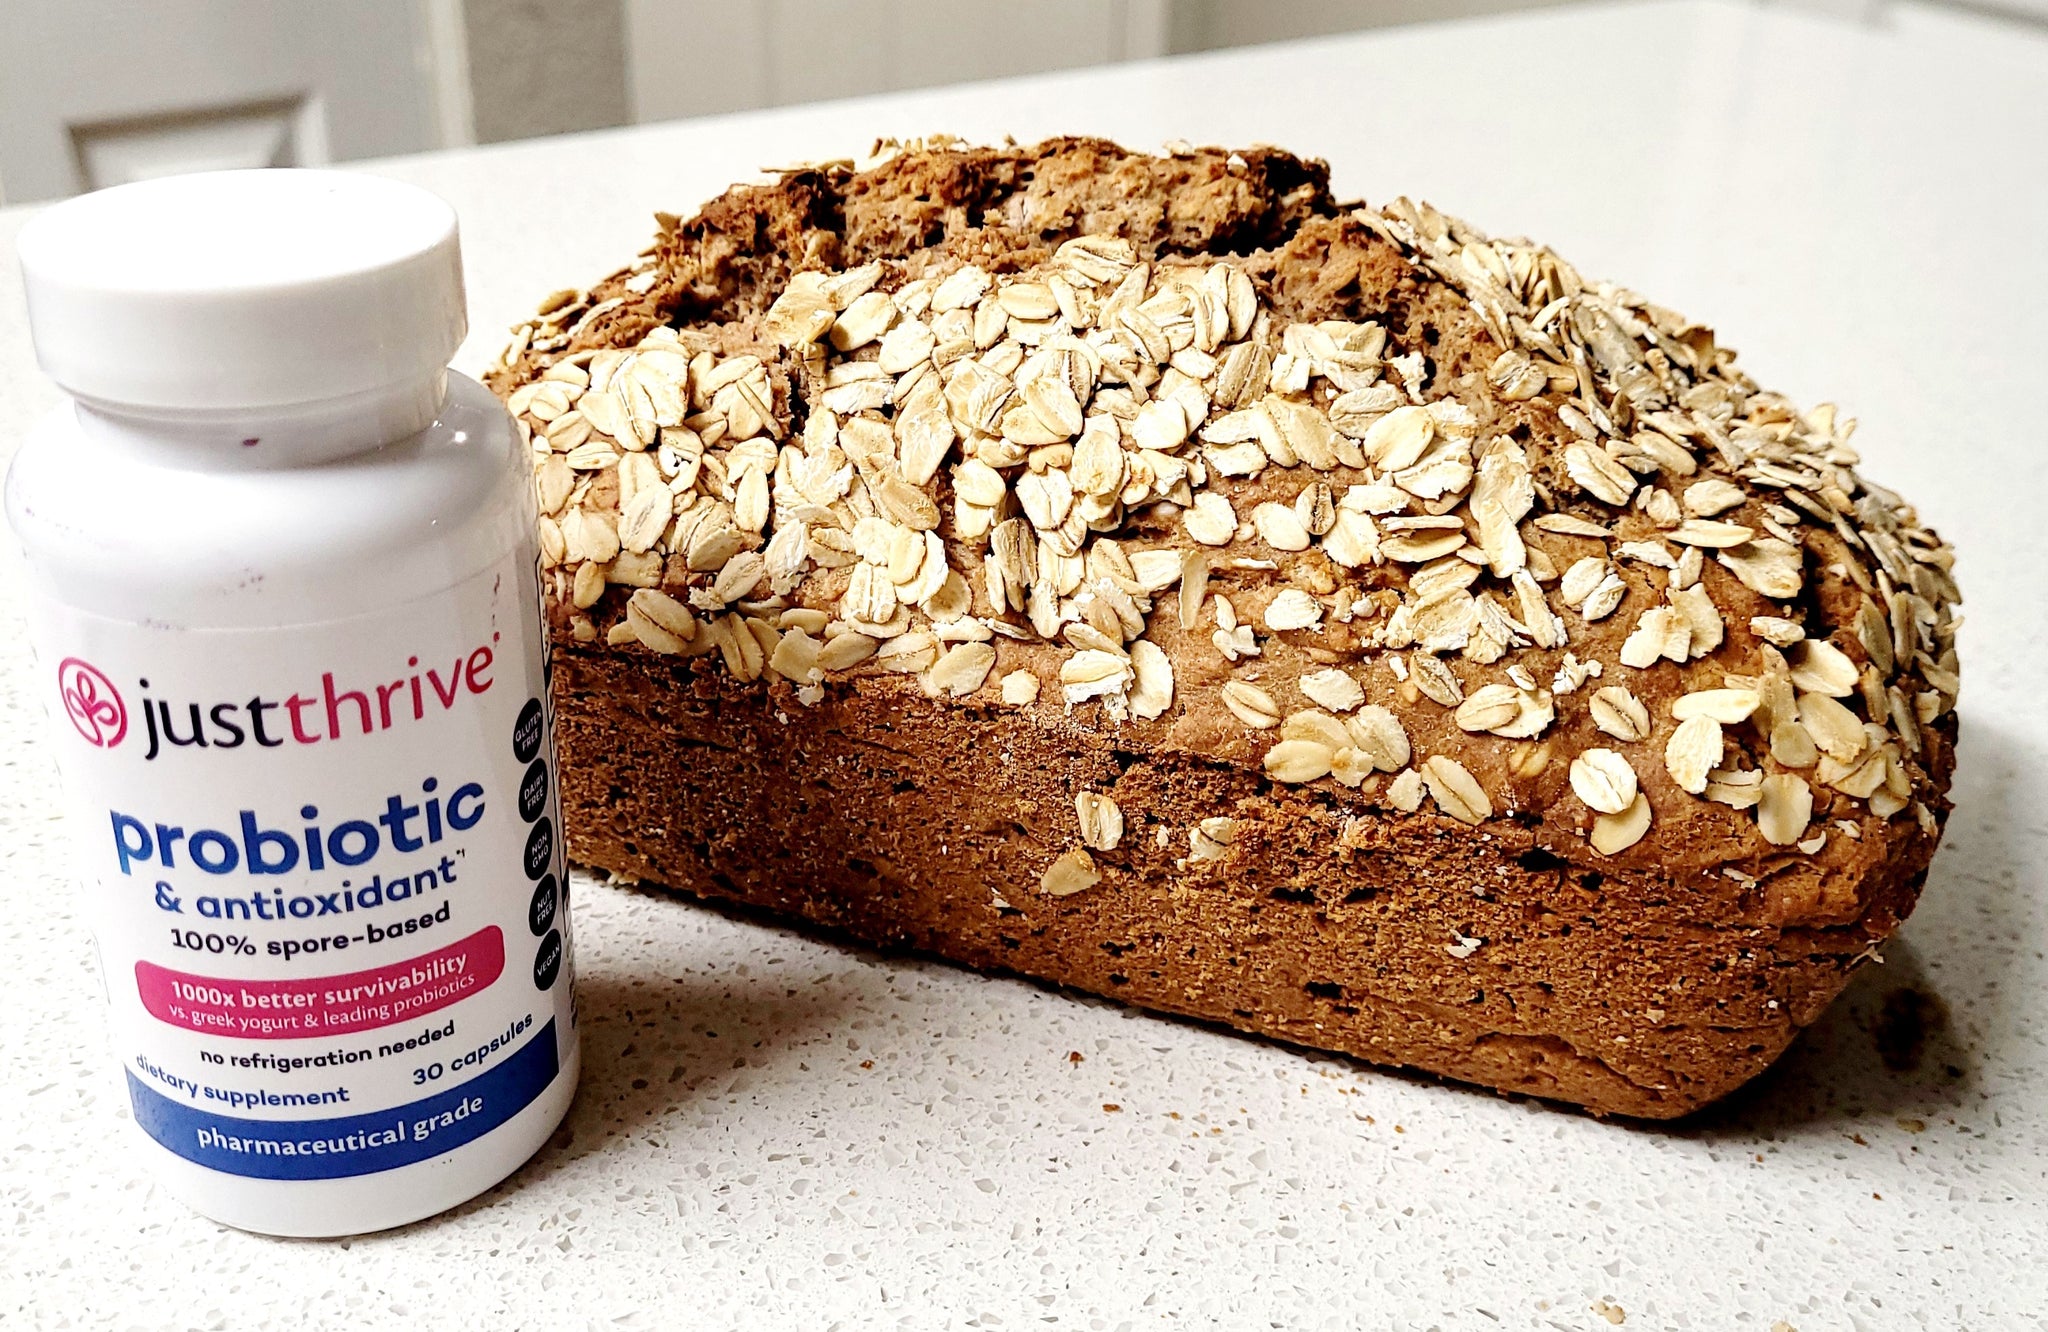
In addition to the core ingredients, I LOVE adding our Just Thrive Spore-based Probiotics to the mix because they are so amazing for gut health. They are truly unique because their survival rate is 1000X better than other probiotics. Remember: Your health starts in the gut, and Just Thrive supports you by keeping your beneficial gut bacteria in healthy balance.
One additional note:
For a beautiful, healthy, and yummy bread you have two different options you can use to make the bread rise. The fastest method is to use baking soda (option1 below). The healthiest method is using a sourdough starter aka Mother dough (option 2 below). It's a gut friendly option that has live bacteria that uses a pre fermented dough as the basis of the bread. This living organism combined with the Just Thrive Probiotic supports healthy digestion, helps prevent bloating, and keeps your gut happy.
Hope you enjoy this recipe as much as we do!

Deliciously Good and Gut-Healthy Vegan, Yeast-Free BreadIngredients:
Directions: There are two different options for baking this bread. The fastest method is to use baking soda. The healthiest method is using a sourdough starter aka Mother dough. Note: This recipe requires a stainless steel loaf pan. Option 1: Cooking with Baking Soda. This option you can make the bread right away. No waiting!
Option 2: Baking with the homemade Sourdough Starter (Mother) This option will take about 6 or 7 days. You will be getting the nutrients and rising your dough from the fermentation instead of using the baking soda in option 1. Homemade Spelt Sourdough (Mother) Ingredients:
Directions:
|
Whatever way you choose to make your homemade bread, I promise you, it will be a delicious and healthy treat for you and your family!
Enjoy!
Love, Michelle and family
@michellebondole


